
How to Get Smooth, Long-Lasting Results Before You Paint
Preparing your kitchen cabinets the right way is the key to a smooth, durable finish. If you skip cleaning, sanding, or priming, the paint can peel or look uneven. A strong prep process helps your kitchen cabinet painting project look better and last longer. Whether you plan to do it yourself or hire a team, solid prep work makes all the difference.
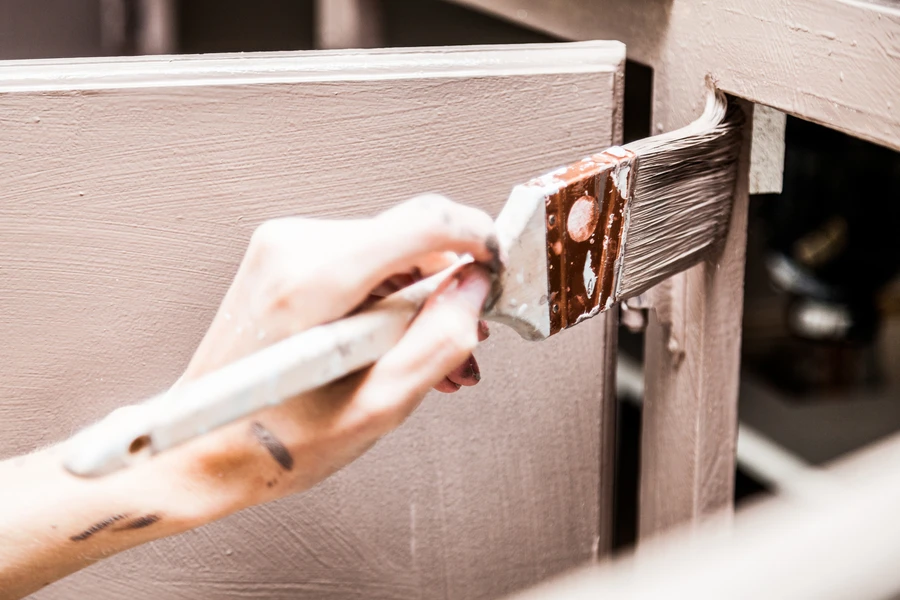
What You Need Before Starting
Before you begin, gather your tools and supplies. Having everything ready saves time and keeps the job moving.
- Screwdriver for removing doors and hardware
- Painter’s tape
- Drop cloths or plastic sheets
- Degreasing cleaner
- Sanding block or electric sander
- Medium and fine grit sandpaper
- Tack cloth or lint-free rags
- High-quality primer
- Paint designed for cabinets
You may also need wood filler if the cabinets have dents or scratches. If the cabinets are part of a larger home improvement project, plan your schedule so each step has time to dry fully.
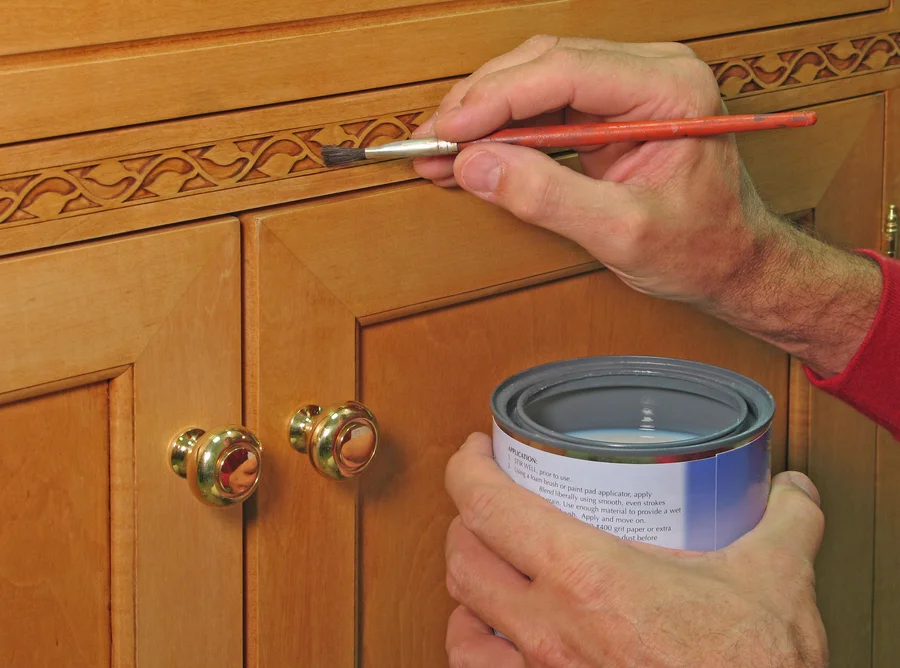
Step-by-Step Prep Process
Follow these steps to get your cabinets ready for paint.
- Remove doors and hardware. Take off hinges, handles, and knobs. Label each door so you know where it goes later.
- Clean all surfaces. Use a degreasing cleaner to remove oil and grime. Kitchens build up grease over time, even if it is not visible.
- Repair damage. Fill small holes or cracks with wood filler. Let it dry, then sand it smooth.
- Sand the cabinets. Scuff the surface to help the primer stick. You do not need to strip all the old finish, but the shine should be gone.
- Wipe away dust. Use a tack cloth or damp rag to remove sanding dust.
- Apply primer. Use even strokes and let it dry as directed. Primer helps block stains and improves paint adhesion.
Once the primer is dry, lightly sand again for a smooth surface. Then clean off the dust before applying paint.
Common Mistakes to Avoid
Many problems with kitchen cabinet painting start during prep. Skipping steps can ruin the final look.
- Not cleaning off grease fully
- Painting over glossy surfaces without sanding
- Using wall paint instead of cabinet-grade paint
- Rushing dry time between coats
- Forgetting to label doors and hardware
Another common issue is painting in a dusty area. Floating dust can settle on wet paint and create bumps. Try to work in a clean, well-ventilated space.
When to Call a Professional
Some cabinets need more than basic prep. If you see deep stains, water damage, or peeling laminate, the job can get tricky. Older cabinets may have layers of paint that require special sanding tools. Large kitchens also take a lot of time and space to handle properly.
A professional team has sprayers, drying racks, and dust control systems that deliver smooth results. They also know which primer works best for wood, laminate, or previously painted surfaces. Hiring experts can save time and reduce stress, especially if your kitchen is the heart of your home.
Final Recommendation and Next Steps
Proper prep is the foundation of great kitchen cabinet painting. Take your time with cleaning, sanding, and priming. Use the right tools and quality materials. Small details during prep make a big difference in the final look.
Ready for Expert Help?
If you are in McHenry, IL and want flawless results, we are here to help. At Sandre & Associates Painting, we handle every step of kitchen cabinet painting with care, from prep through final coat. Call us at (779) 234-0133 to schedule a consultation. We will walk you through the process and make sure your cabinets look smooth, clean, and built to last.